Piwik PRO integration
Piwik PRO is an analytics platform with a focus on user privacy and data security. This guide will walk you through integrating Piwik PRO and your landing page to collect and analyze data in this platform.
Get your tracking code from Piwik PRO
1. Log into your Piwik PRO instance.
2. Open the Menu and go to the Administration section.

3. In the Sites & apps tab, find the landing page you want to connect (1) or add a new website (2).

4. Go to the Installation tab and expand the Install manually section.

5. Copy your tracking code.

Install the code in Landingi
1. Log in to your Landingi account and go to the Dashboard of your landing page.
2. Go to the JavaScript Code tab and click Add new script.

3. Name (1) the script and choose the Head (2) position on Both (3) pages. Paste the tracking code in the content field (4). Save by clicking Add.

The code shall start collecting data immediately. The data will appear in Piwik PRO reports in about an hour in Menu > Analytics.

Consent management
Once the code is installed, a consent form will show on your site. Add a CSS code to your landing page to ensure the consent form displays correctly.
1. In your landing page editor, go to Page Settings and click Add custom CSS.

When editing, you can go back to Page Settings by clicking the arrow:

2. Copy the following code:
#ppms_cm_popup_overlay,
#ppms_cm_popup_wrapper {
z-index: 99999 !important
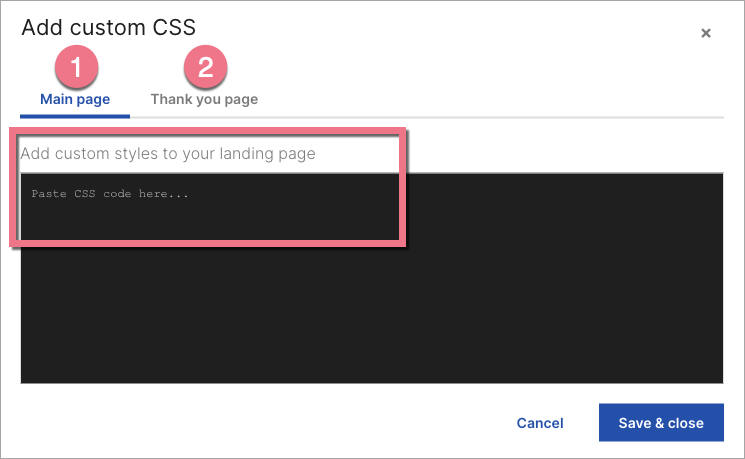
}3. Paste the code for the Main page (1) and Thank you page (2). Save the changes.
4. Publish your landing page.
5. To add or edit the privacy policy link in the Piwik PRO consent form, go to Menu > Consent Manager.

6. In the Forms tab, go to Consent forms and click Edit next to the form you want to update.

7. In the consent form editor, click the privacy policy link (1). Unfold the Interaction (2) tab and enter your privacy policy URL address.
Save the changes.

8. You can also configure other consent settings or turn off the consent in Menu > Administration > Site & apps > Privacy.

NOTE: Keep in mind that Piwik PRO is a third-party solution and is continually being developed. We do our best to keep this guide updated, but if you come across any changes in the set-up process, let us know.
Browse all integrations in our Integrations Catalog to see tools you can connect Landingi with.
Was this manual helpful?

